Pebble Painting

Notes
These directions support workshop hosts
Intro
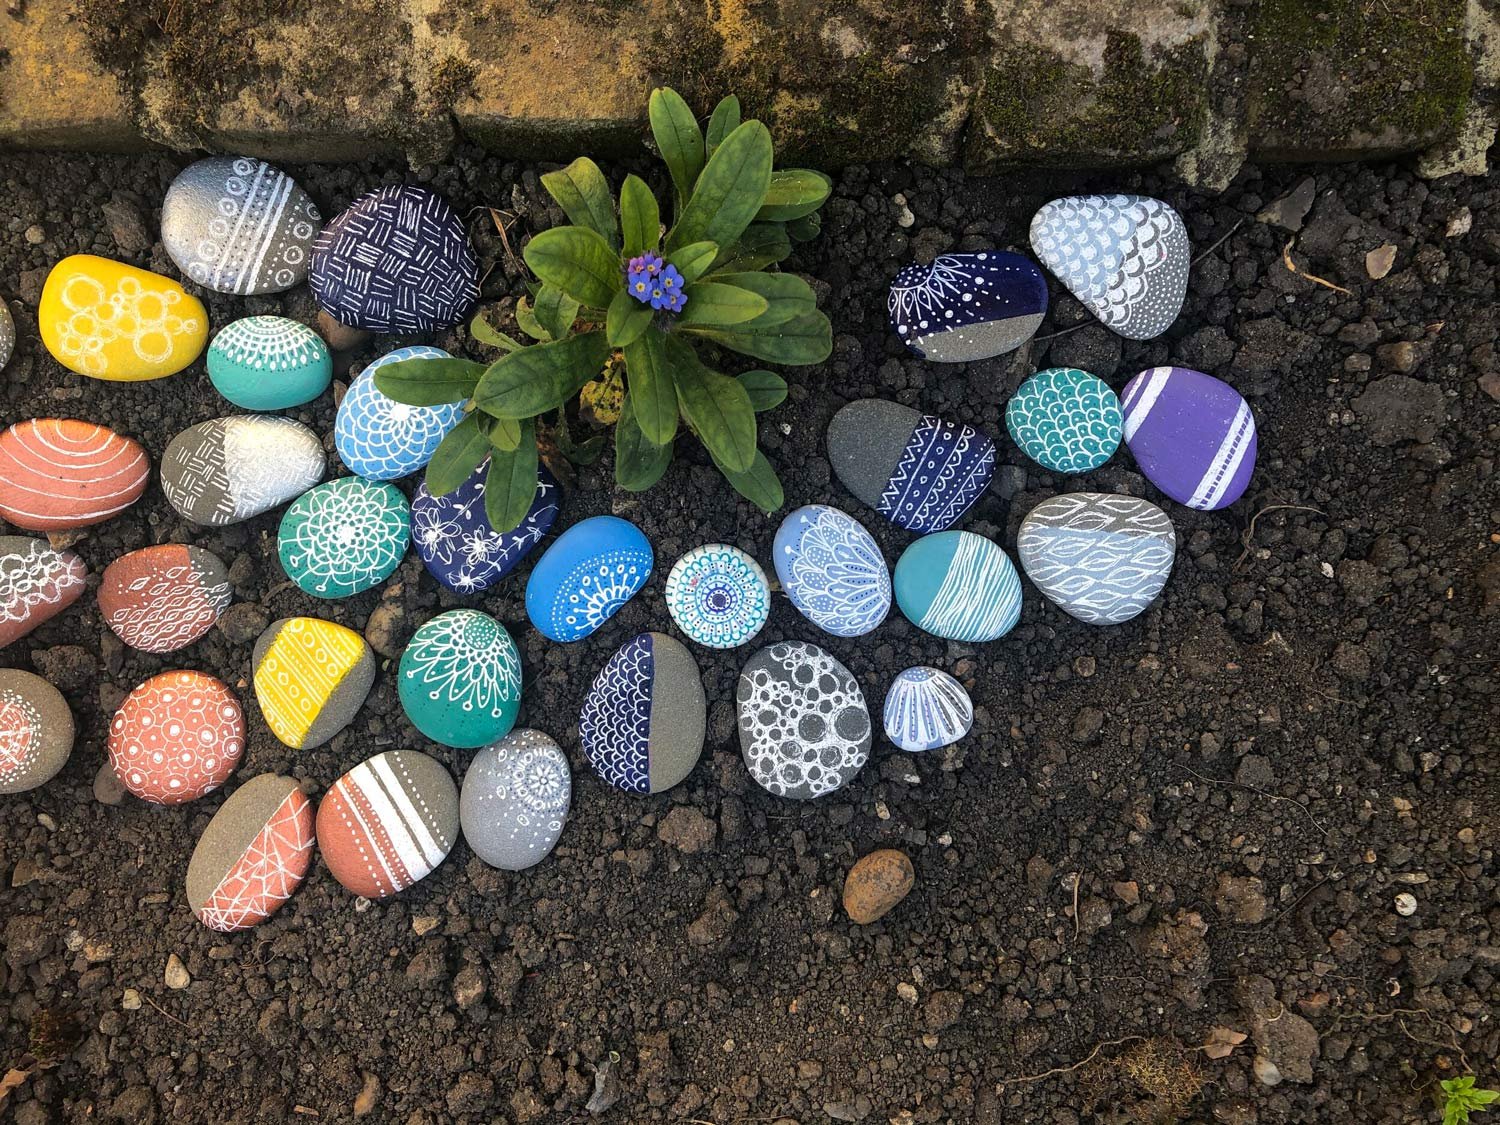
You may not think you’re creative, but decorating pebbles will make you think again. Think of it as doodling - which many of us do without even thinking about it. These pebbles can be used to create a ‘memory garden’ or be placed in a ‘memory jar’.
Background
"Pebble painting, or “rocking”, is a craze that seems to have begun in the US with Megan Murphy’s The Kindness Rocks Project. She came up with the idea after collecting heart-shaped stones and pieces of sea-smoothed glass from the beach, seeing them as “rare treasures or signs and messages” from her deceased parents. “Finding them made me happy and I wanted to provide others with a similar experience." - Excerpt fromThe Guardian
Preparation
Although all materials will be provided, attendees could be invited to bring pebbles with them.
I found that the pebbles need a good few coats of paint to provide a solid base for decorating. It may be worth painting a number of pebbles prior to the workshop so that the attendees don’t need to spend all their time coating the pebbles and waiting for them to dry. It’s also worth the host base-painting pebbles during the workshop so that they are are part of the activity & not just instructing. For attendees who want to paint their own, they could start off by base-painting & then try a few ideas out on the pre-coated pebbles whilst waiting for theirs to dry.
Materials
Each person will need the following materials/tools: - a small flat-head watercolour brush - a white outlining pen - 4-5 flat pebbles - a small paint palette (could be a plastic take-out box) - surface for mixing paint (I used an old ceramic tile) - jay cloths - acrylic paint - an apron - jar of water to wash brushes - paper to place under pebbles whilst painting.
(if you’re stuck, you can find the art materials on Amazon)
The space will need
easy access to water
a table with enough space for each person to feel that they have their own room & space
chairs for each person
Appropriate for
All ages & levels. No painting experience necessary.
During the Workshop
There are many ways to go about this. Below is a tried & tested method that I like to use.
Coat one side of your pebble in a base coat. This leaves room on the other side for a message. Tip: Build the paint up in thin layers. If there is too much paint on your brush, you’ll just end up moving the paint around the pebble.
Once dry, take your white uni-ball pen and start to draw your design. It will dry within a few seconds.
Then, with a tiny brush, or a Sharpie pen, start to add decorative detail.
